Using Pact Webhooks to Improve Contract Testing
It’s been awhile since my last blog post about contract testing! I recently did some work to introduce Pact Webhooks so I figured I’d write a post about it in case other people might find it useful.
Before I get started, if you’re still trying to understand what contract testing is and you need some technical guidelines on how to implement this in JavaScript, then please check out the following blog posts:
- Introduction to Contract Testing
- Contract Testing with Pact.js and Jest
- Integrating Pact in our CircleCI build pipelines
Problem Statement
Currently, when the consumer has made changes to the contract, the relevant provider pipeline is not triggered automatically which causes our consumer pipeline to fail on the can-i-deploy job. This happens because Pact can’t “pre-verify” the contract since the contract has been amended. To work around this issue, we have to trigger the provider verification job manually on the provider pipelines. If this job passes, triggering the can-i-deploy job should now also pass.
Pact Webhooks
Ideally, we’d like the provider verification job to be triggered automatically when this happens. We don’t need to rerun the entire pipeline but instead just run the provider verification job and publish the results to our Pact Broker. Looking at Pact’s documentation, this can be achieved by using Pact Webhooks.
According to Pact:
“Webhooks allow you to trigger an HTTP request when a pact is changed, a pact is published, or a verification is published. The most common use case for webhooks is to trigger a provider build every time a pact changes, and to trigger a consumer build every time a verification is published.”
There are different types of events that Pact can listened to such as:
- The ‘contract content changed’ event
- The ‘contract requiring verification published’ event
- The ‘contract published’ event
- The ‘provider verification published’ event
- The ‘provider verification succeeded’ event
- The ‘provider verification failed’ event
For our specific use case, we are only interested in subscribing to the ‘contract content changed’ or ‘contract requiring verification published’ event which will be triggered every time there are changes in the contract.
Creating a Trigger Token in Gitlab
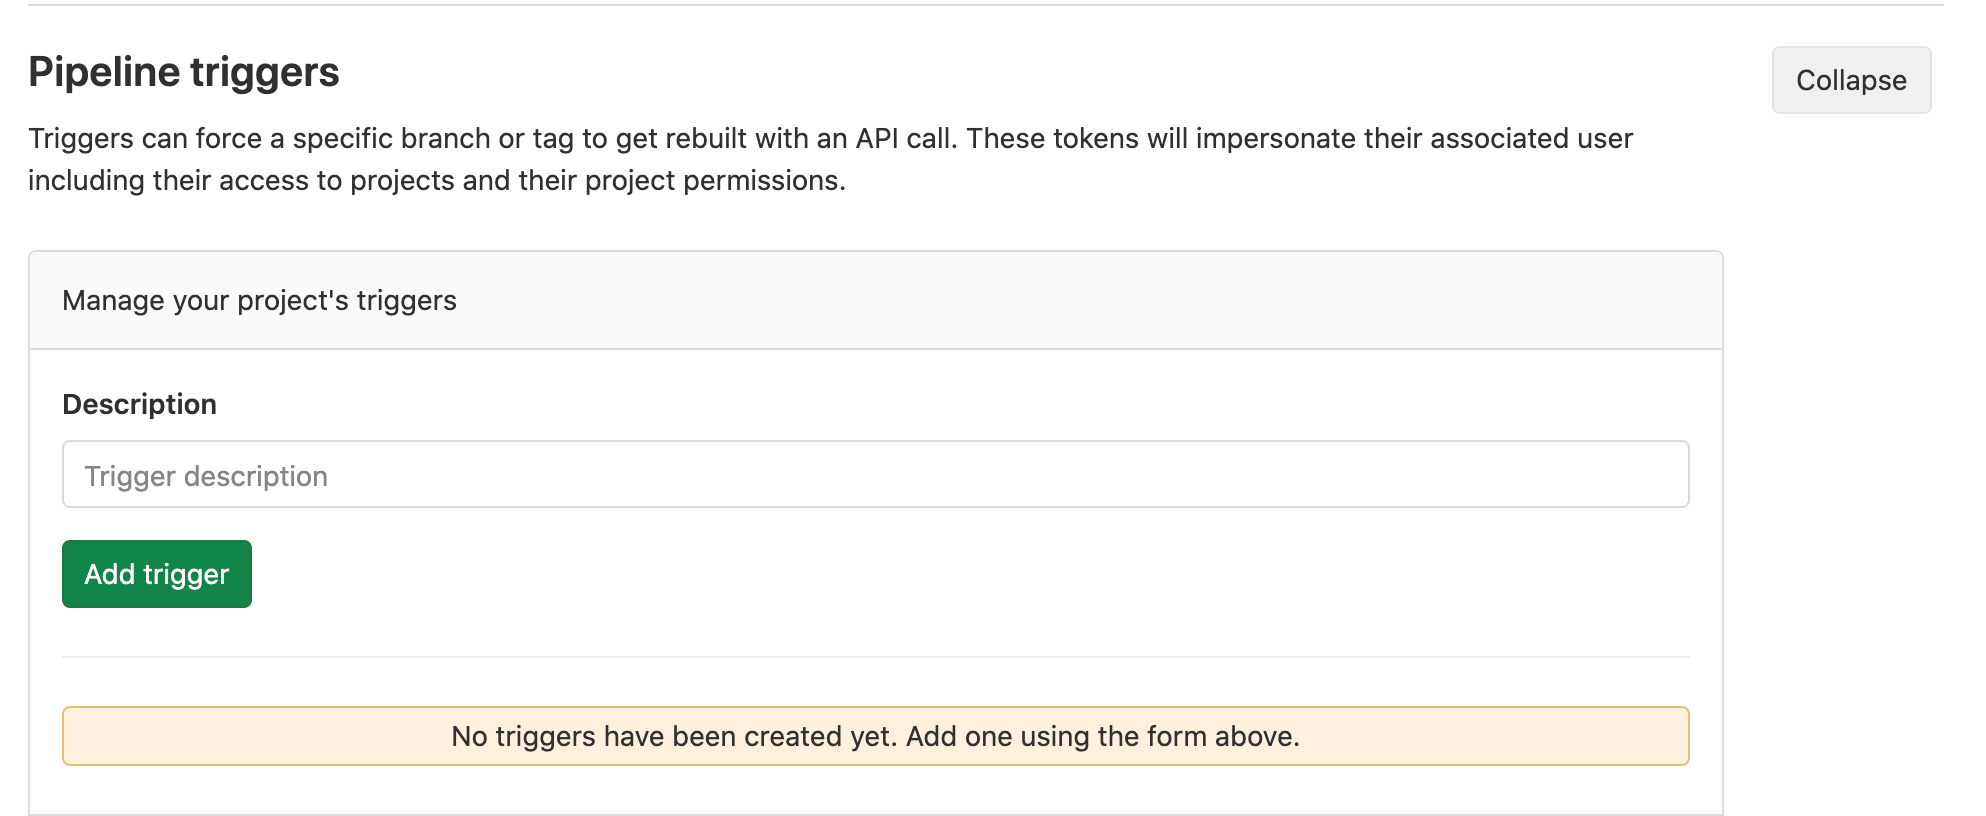
The first step that we need to do to start triggering the provider verification job via webhooks is to create a trigger token in Gitlab which is found on the Settings > CI/CD page.
To create this token, you need to be at least a maintainer for your project. Alternatively, you can ask the project’s owner to do this for you.

To test if you can now trigger the pipeline via curl, you can try the following command:
curl -X POST \
     --fail \
     -F token=TOKEN \
     -F ref=REF_NAME \
     https://gitlab.com/api/v4/projects/<PROJECT_ID>/trigger/pipeline
You need to replace TOKEN with your actual trigger token, REF_NAME with the name of the branch you want to trigger and <PROJECT_ID> with your project’s ID.
Creating a Webhook in Pact
There are few ways to create a webhook in Pact.
In this blog post, I’ll show you how to do it via the Pact CLI tool. If you are using PactJS, the CLI tool comes bundled already so you don’t need to install additional libraries. To create a new webhook, you can run the following command replacing the relevant values such as PROJECT_ID, REF_NAME, TOKEN and your Pact Broker details:
pact-broker create-webhook https://gitlab.com/api/v4/projects/<PROJECT_ID>/ref/<REF_NAME>/trigger/pipeline?token=<TOKEN>
  --request=POST
  --broker-base-url $PACT_BROKER_URL
  --broker-username $PACT_BROKER_USERNAME
  --broker-password $PACT_BROKER_PASSWORD
  --consumer $CONSUMER
  --provider $PROVIDER
  --contract-content-changed
The above command will register a new webhook every time the content of the contract changes and should log a unique ID (UUID) as one of its outputs.
Testing a Webhook
To test if the webhook is created successfully, you can run the following command.
pact-broker test-webhook
  --uuid $UUID
  --broker-base-url $PACT_BROKER_URL
  --broker-username $PACT_BROKER_USERNAME
  --broker-password $PACT_BROKER_PASSWORD
If you’ve provided the correct values, you’ll then notice that your pipeline can now be triggered via this webhook. 🎉
Configuring Provider Verification job to Run via Webhook
For now, every time you test the webhook, this will trigger the entire pipeline which you don’t necessarily want. The next step then is for us to configure our provider verification job to run automatically via our created webhook.
To do this, it requires two steps:
- Create another job specific for the webhook trigger and make sure that it contains the rule:
$CI_PIPELINE_SOURCE == "trigger"' - Because we don’t want other jobs to be triggered, we need to add the rule
$CI_PIPELINE_SOURCE != “trigger”to other jobs.
So for example, let’s say I have created a new job that I will call “verify contract tests webhook”, I would then add the following rule to this job:
verify contract tests webhook:
  // Some other gitlab configuration
  rules:
    - if: '$CI_PIPELINE_SOURCE == "trigger"'
For my other jobs, I would simply add the following rule:
unit test:
  // Some other gitlab configuration
  rules:
    - if: '$CI_PIPELINE_SOURCE != "trigger"'
Or if you have more complex rules and let’s say you have a job that only runs in the master or main pipeline, you can also add the following:
deploy qa:
  // Some other gitlab configuration
  rules:
    - if: ($CI_COMMIT_REF_NAME == "master" && $CI_PIPELINE_SOURCE != "trigger")
Once you have configured the jobs correctly, every time there is a change in the contract, only the provider verification job should be triggered.
Wrapping Up
Pact Webhooks allow you to automate your contract testing efforts more and along with the can-i-deploy command, it ensures that consumers and providers are adhering to the data contract before changes are deployed to production.
The setup described above is specifically for Gitlab so depending on which CI/CD pipeline you are using, the configuration will be slightly different. For more information on how to trigger your pipelines or a specific job via webhooks, make sure to check out your CI/CD provider’s documentation.